 |
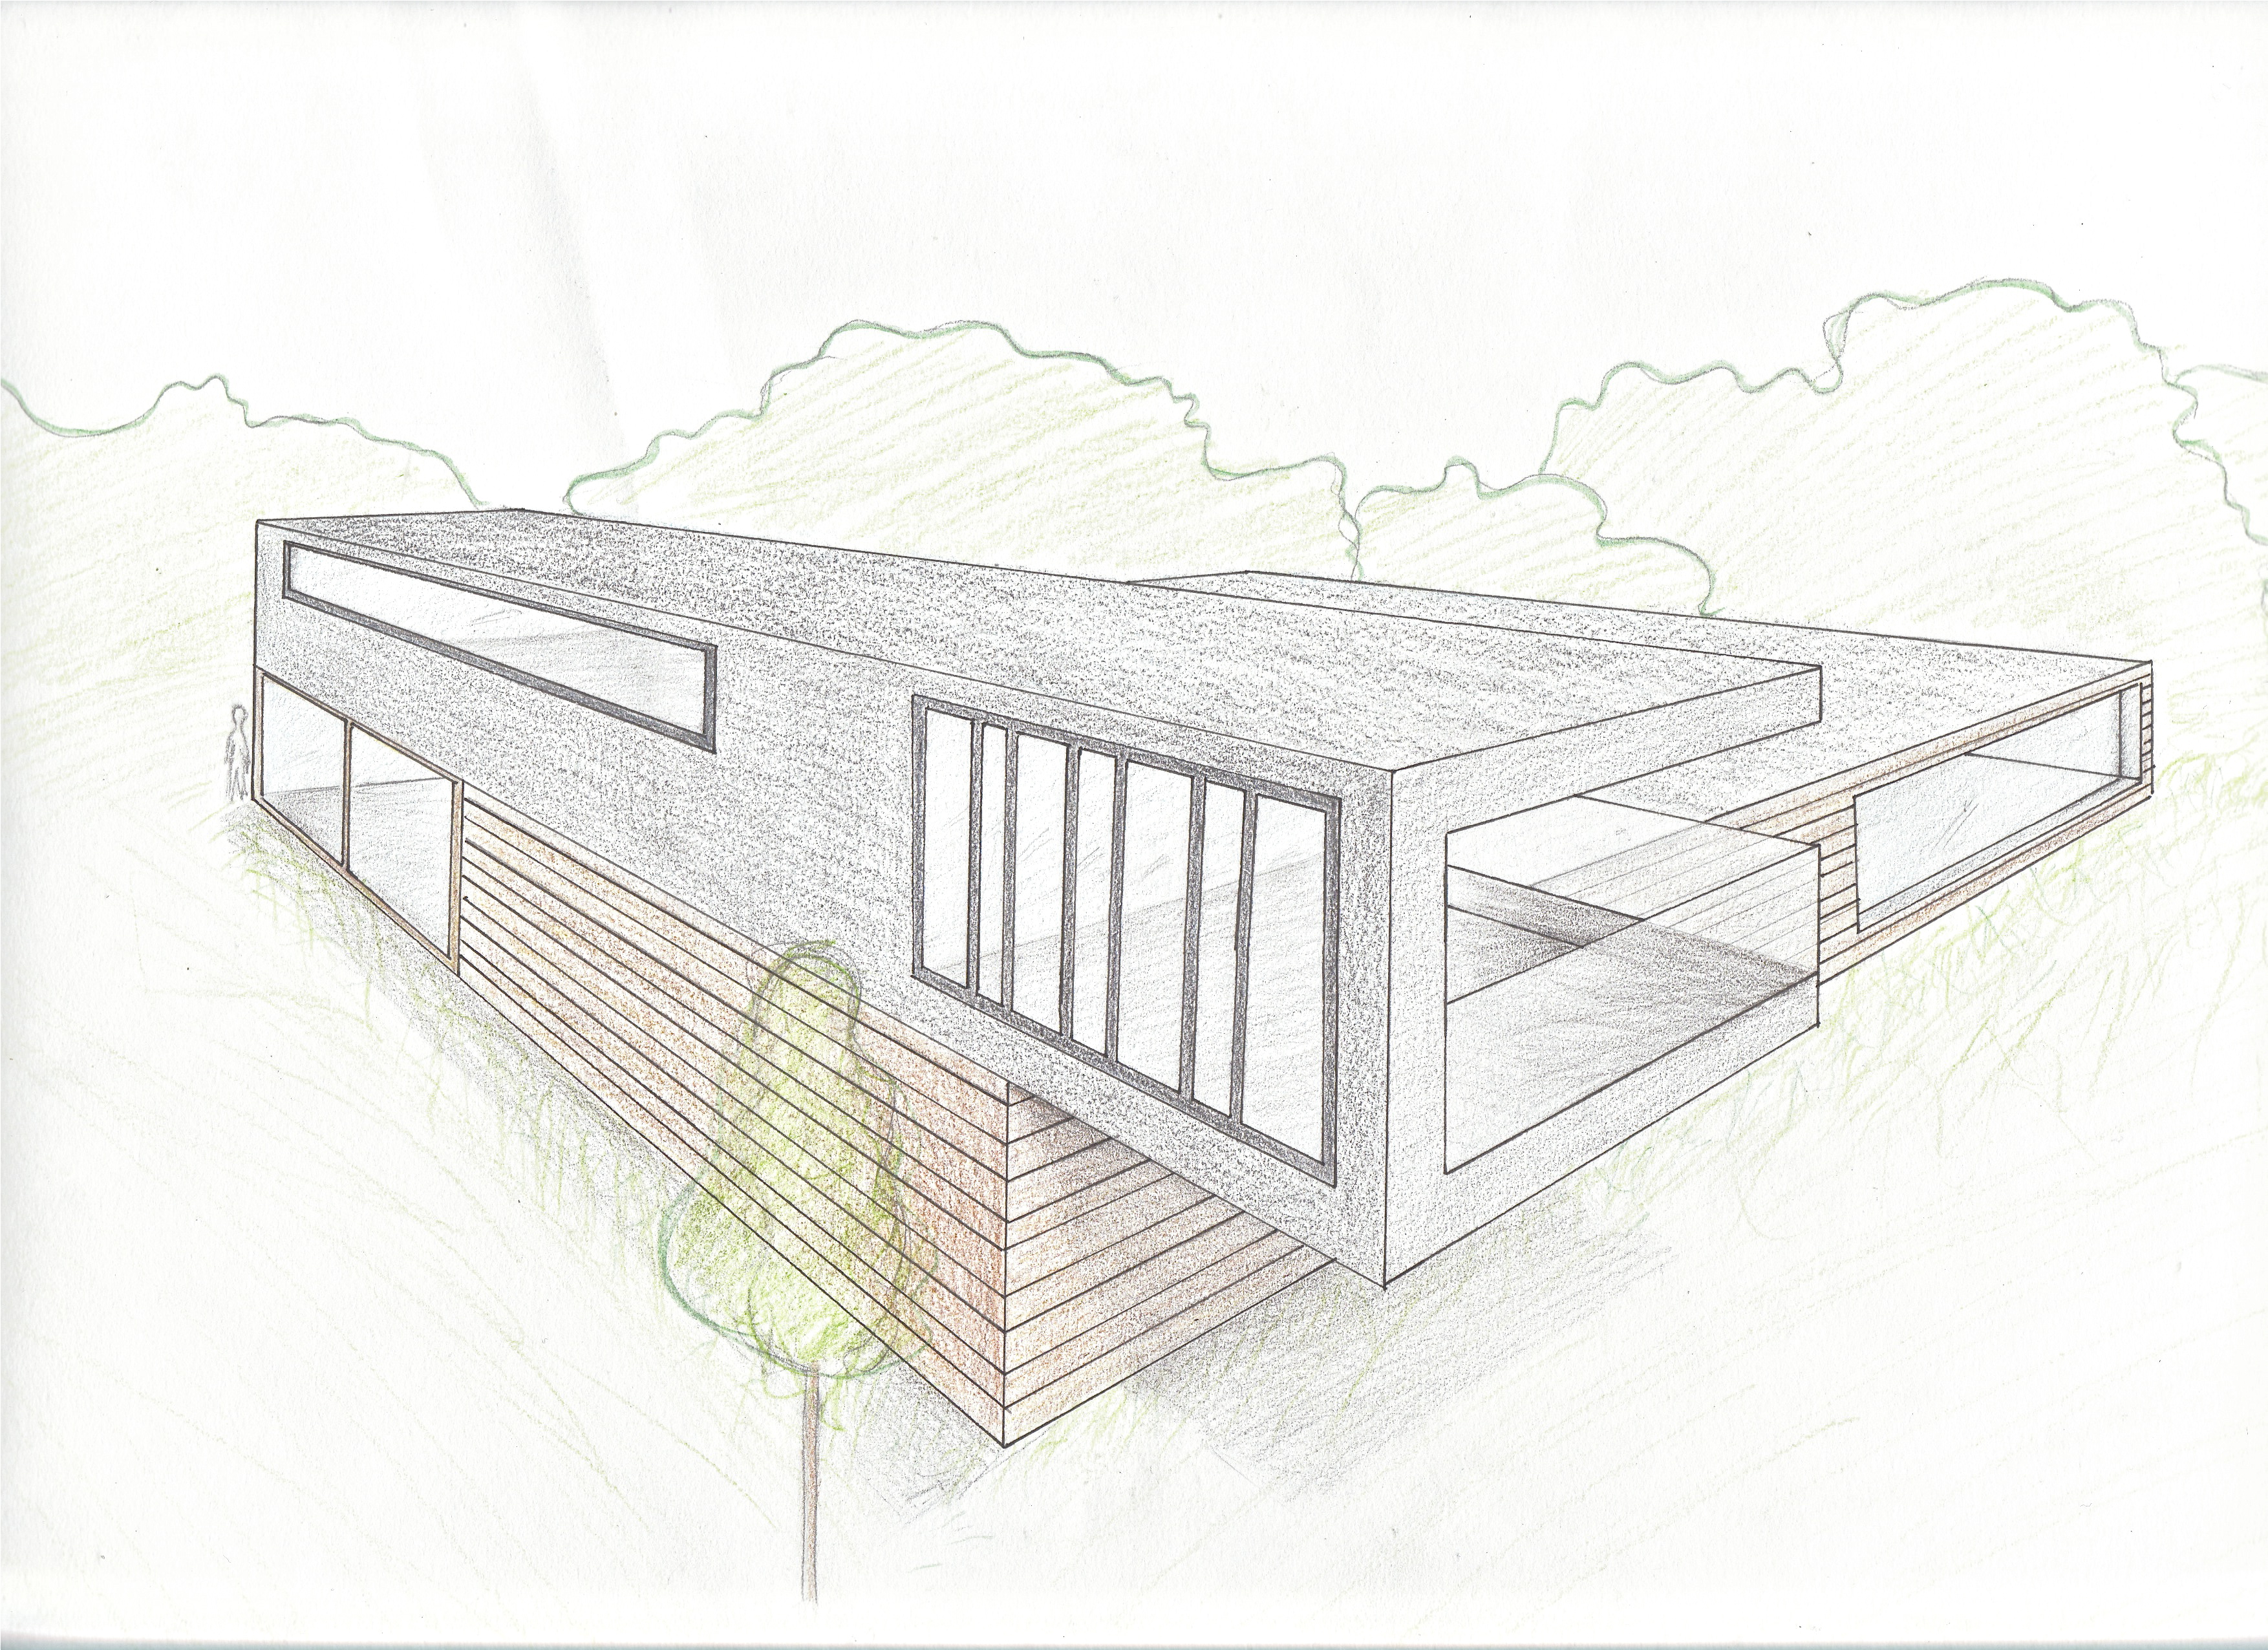
| You are to pick one of theses figures and draw it in Isometric, Oblique and either 1 point or 2 point perspective! |
Thursday, October 31, 2013
IED Term 1 Drawing Exam
Sunday, October 27, 2013
Lessons for Monday October 28, 2013
Good morning:
Please find your class below and read your instructions for today's work:
Period 1 and 3:
Civil Engineering and Architecture:
Continue to work on your Architecture model projects. Here are some suggestions on what you can do:
1. Sketch
out what each wall of your model will look like and give it dimensions.
2. Make
a schedule of work.
a. How
long will it take to cut out your walls from cardboard or foam core?
b. How
long will it take to glue your pieces together?
3. Create
more sketches of your design. Think about the different sides of your project.
What will it look like from the back or from the left or right side?
4. Please
be ready on Tuesday to show me what you accomplished
5. Good
Luck!!
Period
2:
Principles of Engineering:
Please go to Khan Academy and view the following video’s
on Mechanical advantage:
Mechanical advantage Part 1
Mechanical advantage Part2
Mechanical advantage Part 3
Here is the link:
Please go over the work that we did on Friday. Tomorrow
there will be a Test on calculating the MA of Gears, Levers, and Pulley’s. Here
are some suggestions on what you can do:
1. Search
Mechanical advantage lessons on the web. See if you can find another site
besides Khan that can teach you about mechanical advantage. Write down the site
and I will give you extra credit on the test if you list this site on the exam
tomorrow
2. Type
in “Mechanical advantage of gears” problems in a search engine. Are there
examples that you can practice for? Try the MA of Pulleys and the MA of levers.
What did you find
Good Luck!!!
Thursday, October 24, 2013

Tuesday, October 22, 2013


Sunday, October 20, 2013
Class work for Monday October 21, 2013 ( All Classes: CEA, POE and IED)
CEA Assignment for Monday October 21, 2013 (this is for
periods 1 and 3)
If you have never done a two point perspective before then
click on this link and complete the activity. You will need a sheet of white
paper, pencil, and ruler. Remember to always use light lines in the beginning
and then go back and darken the lines that you need to see clearly
Here is the link:
https://docs.google.com/presentation/d/1dio64682brQGBiojhzZaOzPh_GUrrOU7q93MDuI7gf4/edit?pli=1#slide=id.p13https://docs.google.com/presentation/d/1dio64682brQGBiojhzZaOzPh_GUrrOU7q93MDuI7gf4/edit?pli=1#slide=id.p13
If you have done 2 point perspective drawing before , then
click through these links below to see some good examples of buildings and interior
design that have been posted on the web as well as work that has been done by students in the past
here at Nottingham.
When you are done with these links, then begin to create
a 2 point perspective of your chosen model or architectural style.
Here is a very nice 2 point perspective from the web.
According to the owner, this was done as a drawing assignment for an
architecture class:
This 2 point perspective was done by a Nottingham architecture
student in 2007. He is now a business student in England:
This 2 point perspective was done by Rakiem Dayes, a NHS
graduate:
This link will take you to a 2007 blog post. It has a few
examples of two point perspective:
Keep your work in your portfolio
POE Assignment for Monday October 21, 2013 (For period 2)
If you have never done a two point perspective before then
click on this link and complete the activity. You will need a sheet of white
paper, pencil, and ruler. Remember to always use light lines in the beginning
and then go back an darken the lines that you need to see clearly:
If you know how to do 2 point or 1 point perspective, then
complete a perspective (one or two) sketch of your Pulley project. Keep all of
your sketches in your portfolio. We will complete these on Tuesday
Keep your work in your portfolio
IED Assignment for Monday October 21, 2013 (For period 7/8 and 10)
Please go to your portfolio and get out your perspective
work sheets. You are to complete 1, 2 and 4. Make sure that you shade and
detail to your sketch on number 4. You will submit this work at the end of
class on Tuesday so do your best!
If you complete all of these , then go back and do question
3
Keep your work in your portfolio
Wednesday, October 16, 2013
All Classes for Wednesday and Thursday October 16 and 17, 2013
Topic: One Point Perspective
Classes:
CEA: Period 1
POE: Period 2
CEA: period 3
IED: Period 7/8
IED: Period 10
Assignment. This is a 2 day assignment worth 300 points. Click on the link below to take you to a power point step by step guide on how to do a One point Perspective. If you finish this activity then complete the Perspective worksheet.
All the drawing equipment that you will need is located on the table next to the teachers desk.
Keep all your work in your portfolio.
Click here to go to the presentation
Friday, October 11, 2013
IED Periods 7/8 and 10 for Friday October 11, 2013
Good Afternoon!
Please do the following:
- Complete the two Isometric sketches on the work sheet that is located at the teachers table
- Use color and shading to enhance your sketches
- Darken your outlines with either a black pen or black color pencil
- Next try to complete the Two Point Perspective problem ( also located at the teachers table)
- Use white printer paper and a ruler
- Remember to make your lines REALLY LIGHT !!!
- Then darken the lines you want to see later
- Place your work in your portfolio
- This is a 300 point classroom activity so do a good job!!!
POE Lesson for Friday October 11, 2013 Period 2
Good Morning!
Please do the following:
Complete detailed sketches of your pulley system:
- Use color pencil to enhance your sketch
- Go over your lines with a black color pencil or pen
- Label the following parts:
- Frame or support structure parts ( vertical columns, horizontal beams, diagonal bracing)
- Cable
- Effort
- Load or Resistance
- Fixed pulley
- Movable pulley
We will review your sketch and pulley system on Tuesday:
- The pulley system will be worth 200 pts
- The sketch will be worth 100 pts
- You will complete some pulley calculations worth 100 pts
Put your sketches in your Portfolio
CEA Periods 1 and 3 Lesson For Friday October 11, 2013
Good Morning!
Please make sure that you have the following done by the end of class:
1. A floor plan sketch of your chosen idea with the following:
- Go over walls with thick black lines or color to show contrast from the other parts of the plan
- Make sure you add color to your plan ( only use 2 or 3 colors though!)
- Label the main features( use black pen or pencil with an arrow) such as:
- Front
- Right side
- Left side
- Back
- Garage
- Bedrooms
- Living rooms
- Bathrooms
2. An Elevation sketch of your chosen house:
- It should reflect the style of architecture that you want to model
- Use color and dark lines to add emphasis to the main features of the house
- If you think you are finished, leave your work out so that it can be reviewed by Mrs. Matthews.
- If she makes suggestions then please follow them and improve your sketches!
Wednesday, October 9, 2013
IED Period 7/8 and 10: Two Point Perspective Drawing
Hello!
Please click on the link below which will take you to a presentation that will teach you the step by step process of drawing a Two Point perspective
Click Here
 http://www.buzzle.com/images/diagrams/2-point-perspective.jpg
Please click on the link below which will take you to a presentation that will teach you the step by step process of drawing a Two Point perspective
Click Here
http://www.buzzle.com/images/diagrams/2-point-perspective.jpg
CEA Block 3 Elevation sketching
Click on this link to get to the image. Do a rapid Viz sketch of this elevation:
http://www.make-my-own-house.com/images/sideelevation.jpg
http://www.make-my-own-house.com/images/sideelevation.jpg
CEA Sketching Residential Elevations
Here is the link to the image that you can sketch
http://katiehutchison.squarespace.com/storage/specialevents/HistNEand%20KHSdwng.jpg?__SQUARESPACE_CACHEVERSION=1256224695265
http://katiehutchison.squarespace.com/storage/specialevents/HistNEand%20KHSdwng.jpg?__SQUARESPACE_CACHEVERSION=1256224695265
Wednesday, October 2, 2013
IED Project for October
IED Wednesday October 2, 2013
Design Project:
Drawing
equipment Organization for GW3
The Problem:
The
work table in GW3 has multiple uses. When projects are being built, there are
wooden boxes that can hold the tools so that the work space is not cluttered.
When design work is being done, however, like coloring with markers or color
pencils or sketching with pencils and erasers, there is no organizational aid.
Design Statement:
Design and construct a system of organizing drawing equipment for the work
tables in gw3
Constraints:
1. It must hold 20 pencils upright
2. It must hold 12 markers upright
3. It must have corners that are 90 degree
angles only
4. It must be made using butt joints and lap
joints
5. It must be made of the following materials:
·
Foam
core
·
Luan
plywood
·
Hot
glue and/or construction adhesive
·
Cardboard
6. The design should follow the principles and
elements of good design
7. It must be built to last all this year
8. The “foot print” of the design should not
exceed 6” x 6”
9. It must be completed by the end of October
Lessons for Periods 1, 2, and 3 on Wednesday October 2, 2013
Periods 1 and 3: Civil Engineering and Architecture (CEA)
Please continue to improve and/or complete your Styles of Architecture power point presentations
Use your activity sheets found in your portfolio's to make sure you have met all the information requirements for your presentation. We will present on Thursday and Friday of this week. Because you are being given extra time, the expectation of a good presentation is VERY HIGH!!
Period 2: Principles of Engineering (POE)
Please Complete your sketches of your Gear systems. Label the following parts: Driver gear, Driven gear, and Idler gears, Axle, Support structure
Measure each gear by counting the teeth on the gear. Use an arrow to point to each gear and write how many teeth it has.
Here is a good site to see diagrams of gear systems:
http://aerodrive.bstc.edu.hk/~yeungkh/dt/guide-gear2004.files/image004.gif
You will submit your sketch and gear system for marking on Thursday (Tomorrow)
Tuesday, October 1, 2013
.JPG)
Subscribe to:
Posts (Atom)