To make changes or add information to the title block:
1. Expand ANSI Title block (click on the +)
2. Right click on edit field text
3. Click on the icon that looks like a sheet of paper in the upper right corner of the edit box
4. Click on Properties
5. Fill in all the information:
6. For Author: Type your Full name
7. For Manager: Type Mr. McGinty
8. For Title: Type the name of the object you will be placing onto your Sheet (example: Mouse Trap Rear CD Wheel)


This sheet gives instructions on how to insert a center line or center point. To insert text:
1. Click on annotate in the main menu of a standard dwg file
2. Then click on the big bold A.
3. Then click where you would like the text to appear. A dialogue box will appear
4. Type your text.
5. Click Apply
6. Press escape (ESC) twice
7. Then place your mouse over your text
8. You can then select the text and adjust its location

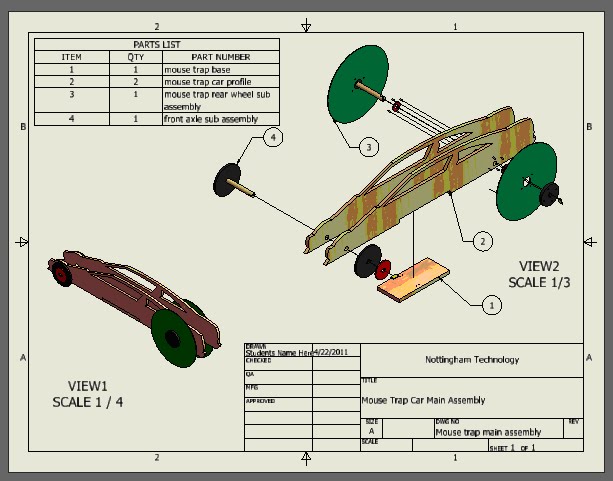
This image shows what your laser engraver dwg file should look like. What components you decide to laser engrave, depends upon each teams design.
No comments:
Post a Comment